- Business Bloopers
- Pages
- 🤖 Building Your Own Chatbot Is Super Easy, Check This Out
🤖 Building Your Own Chatbot Is Super Easy, Check This Out
I’m not sure if many of you have heard of No Code software development tools but they are basically tools that allow you to build your own software using very little to no code and I am going to show you the power of them in just 7 steps
Step 1:
First off, head over to FlutterFlow and create an account:
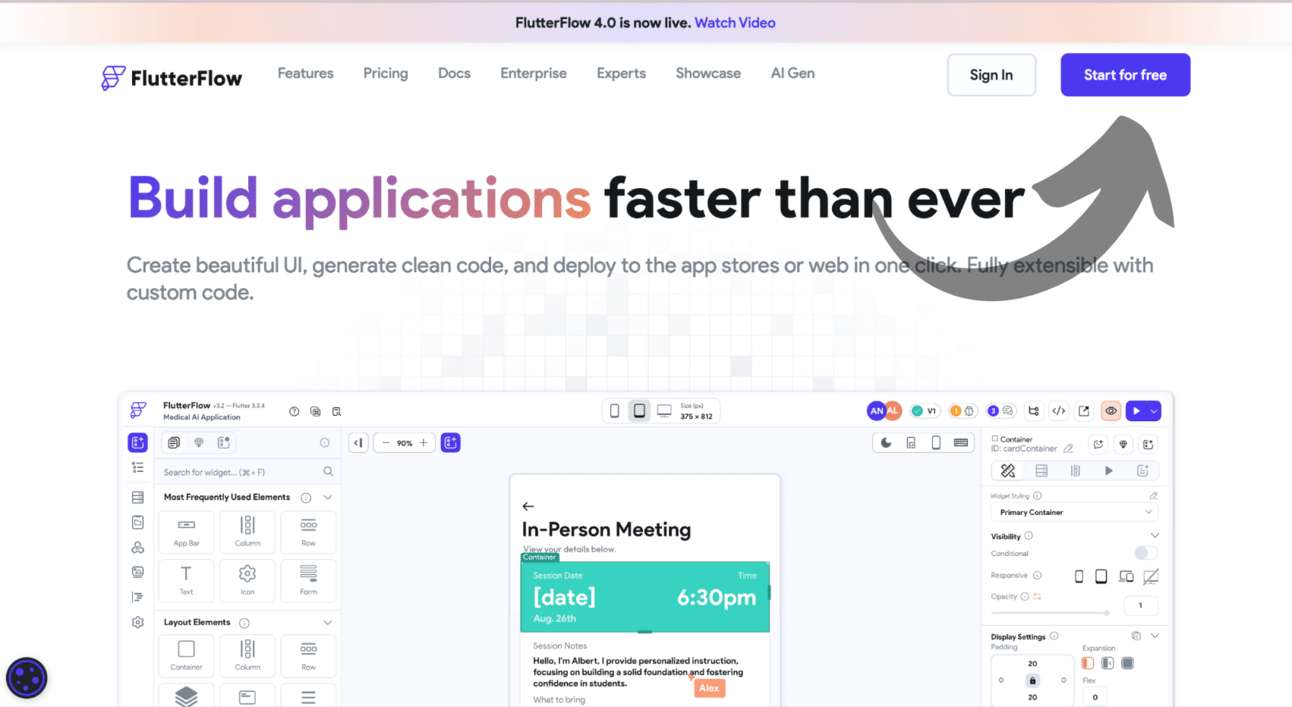
Once finished with the Sign-Up process you should be sent to this page:
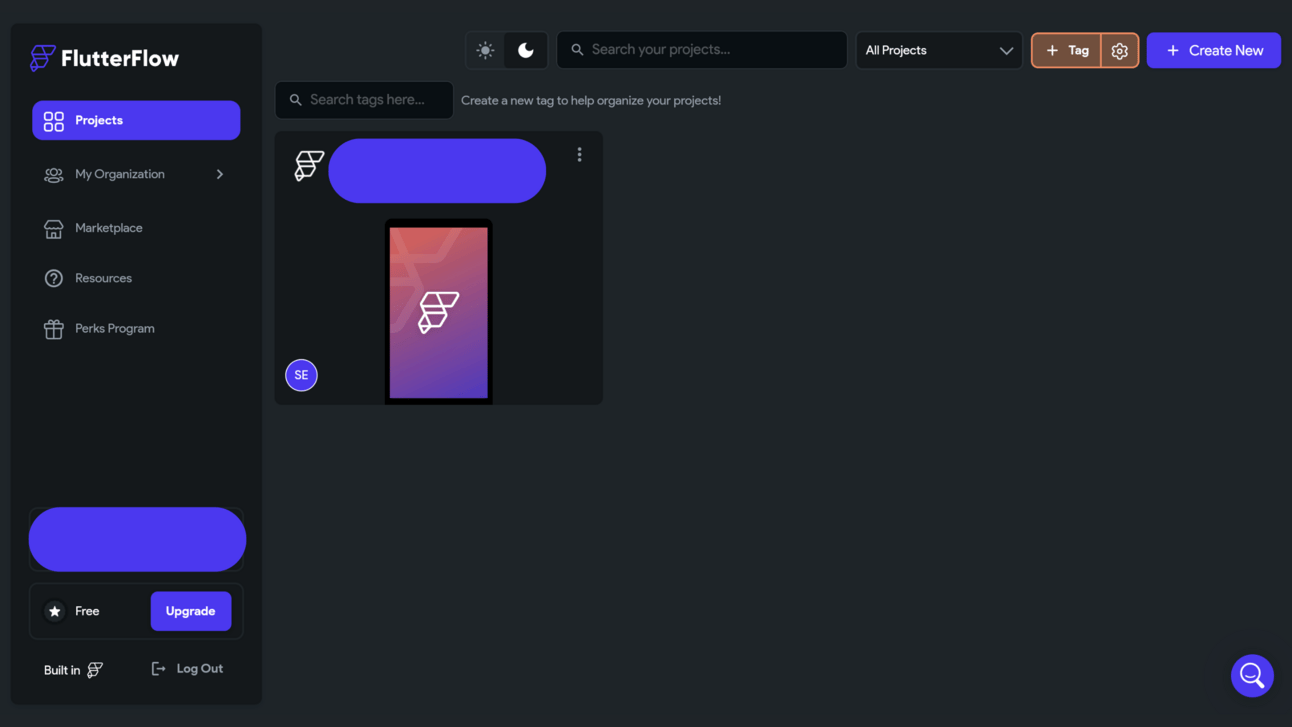
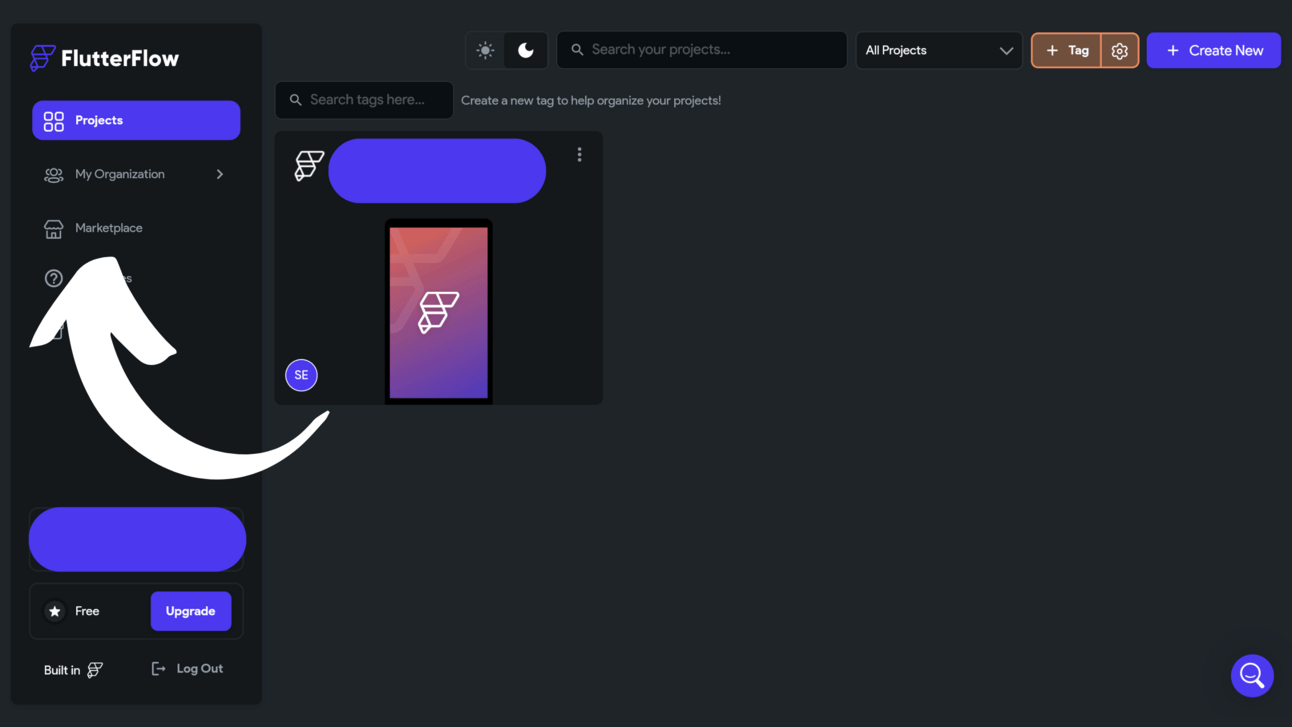
Once on this page you will want to click on the “marketplace” button on the left sidebar:
Step 2:
Now that you are on the marketplace homepage Type “Open AI” into the search bar:
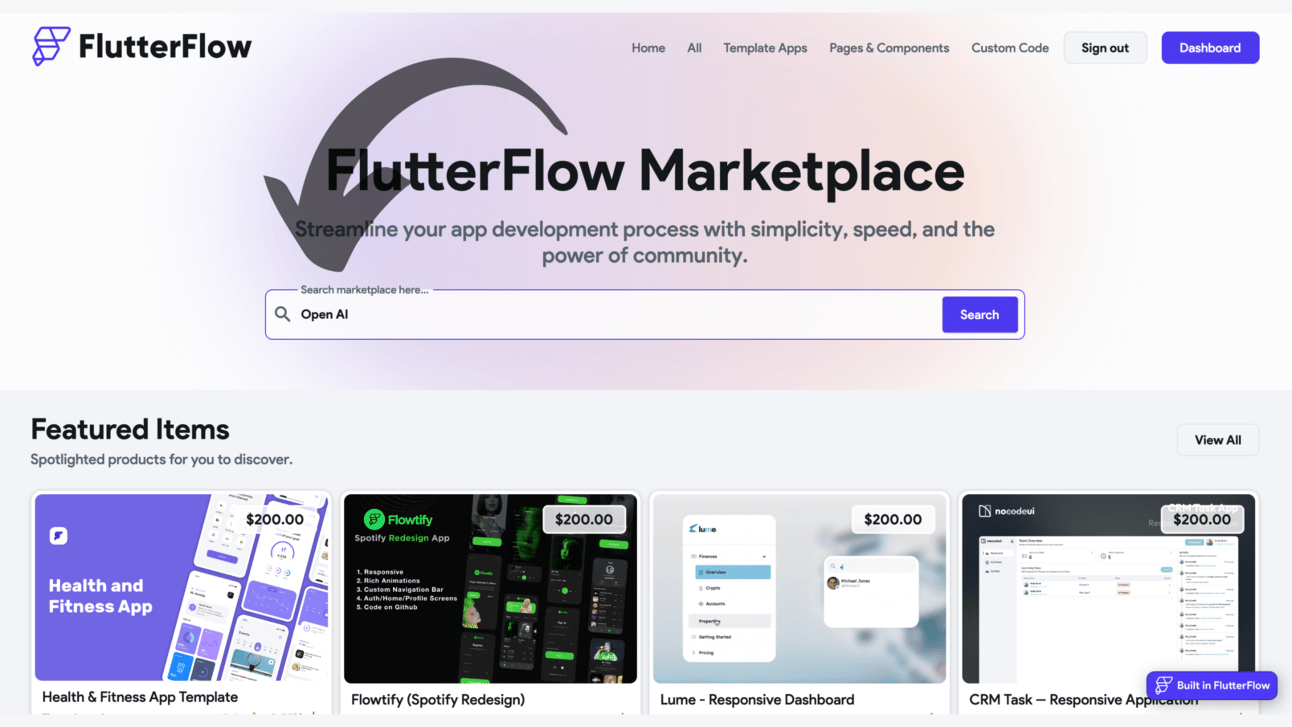
Once searched, click on the template called “ChatGPT in FlutterFlow”
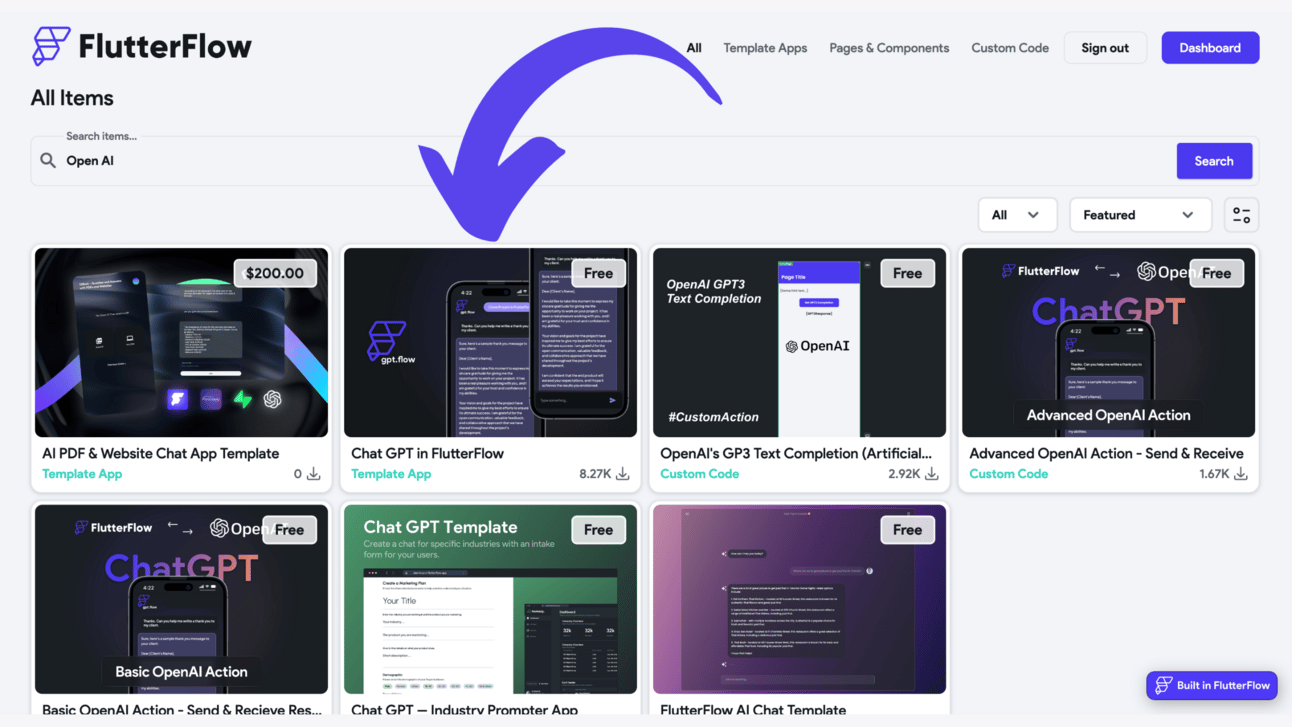
Now Click the “Add Now” button

Now
You will then be prompted to this page where you will want to click “create project”
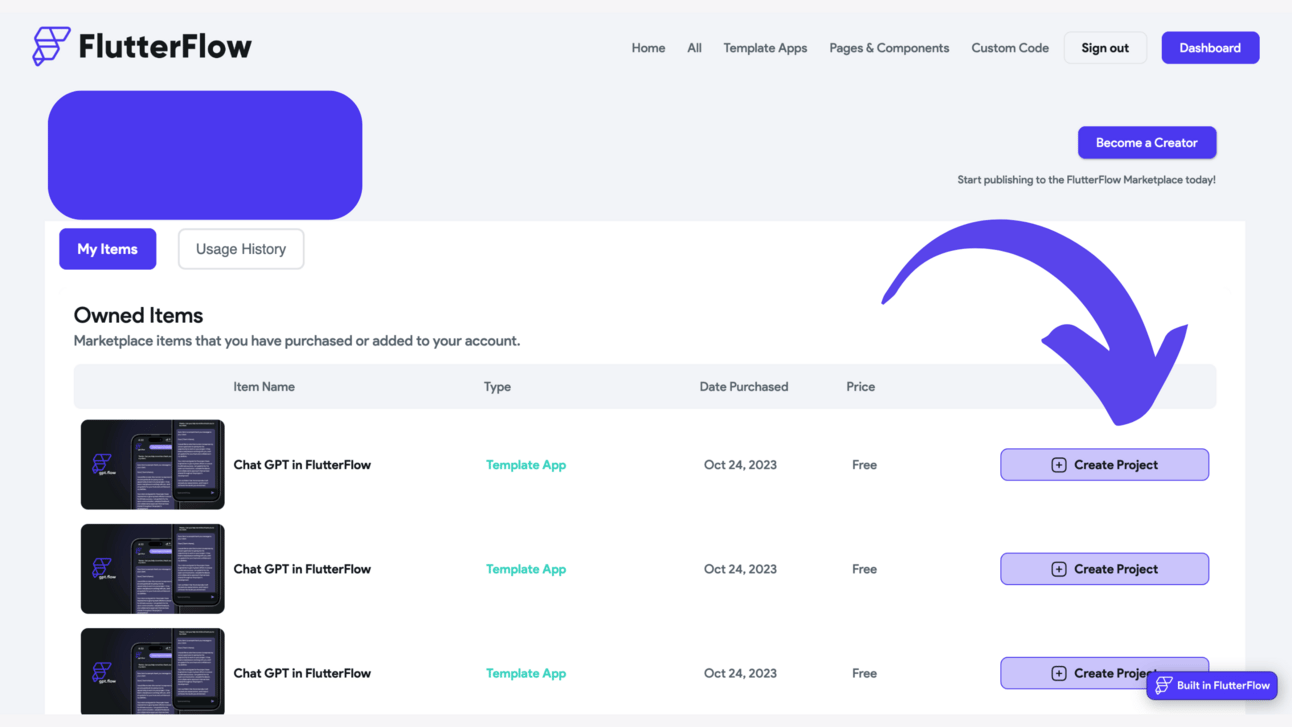
You will then be sent back to your FlutterFlow homepage and it might take a second or two but a popup will appear that will tell you to input a name for the app we are creating.The popup looks like this:
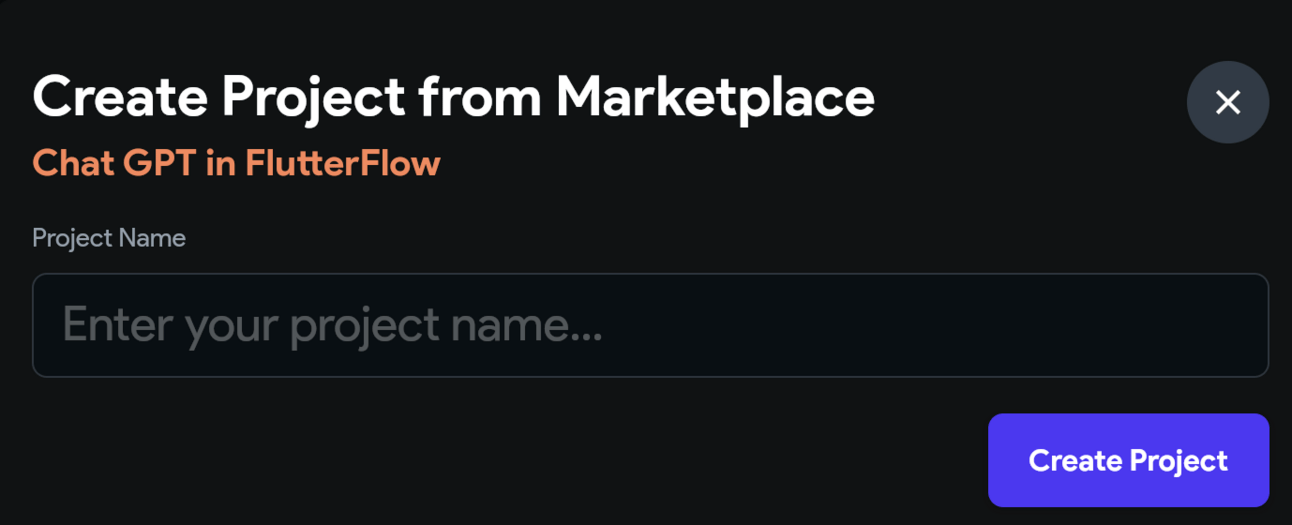
Once you have created a name you will be sent to the editor (if your screen is zoomed in super far when you load in then click the mobile screen and then back to the computer screen at the top of the editor)
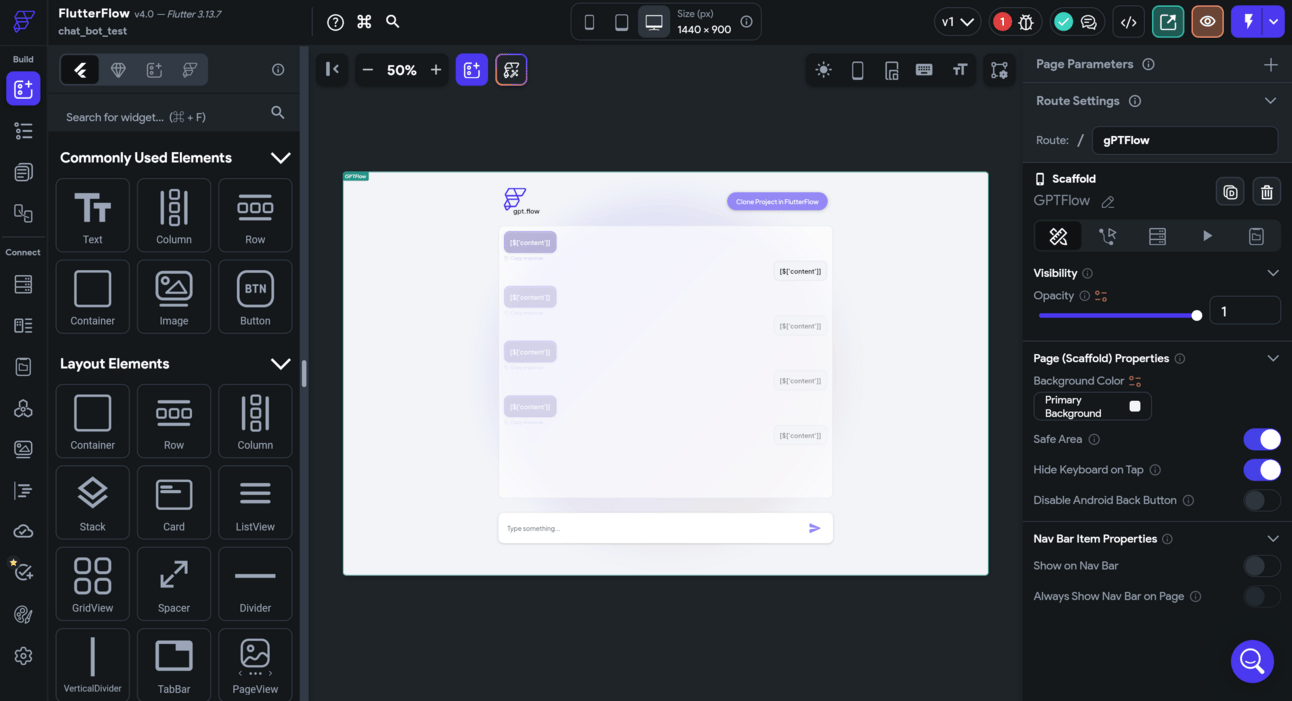
Step 3
Now head down to the “API Calls” section on the left sidebar and click the dropdown menu that appears
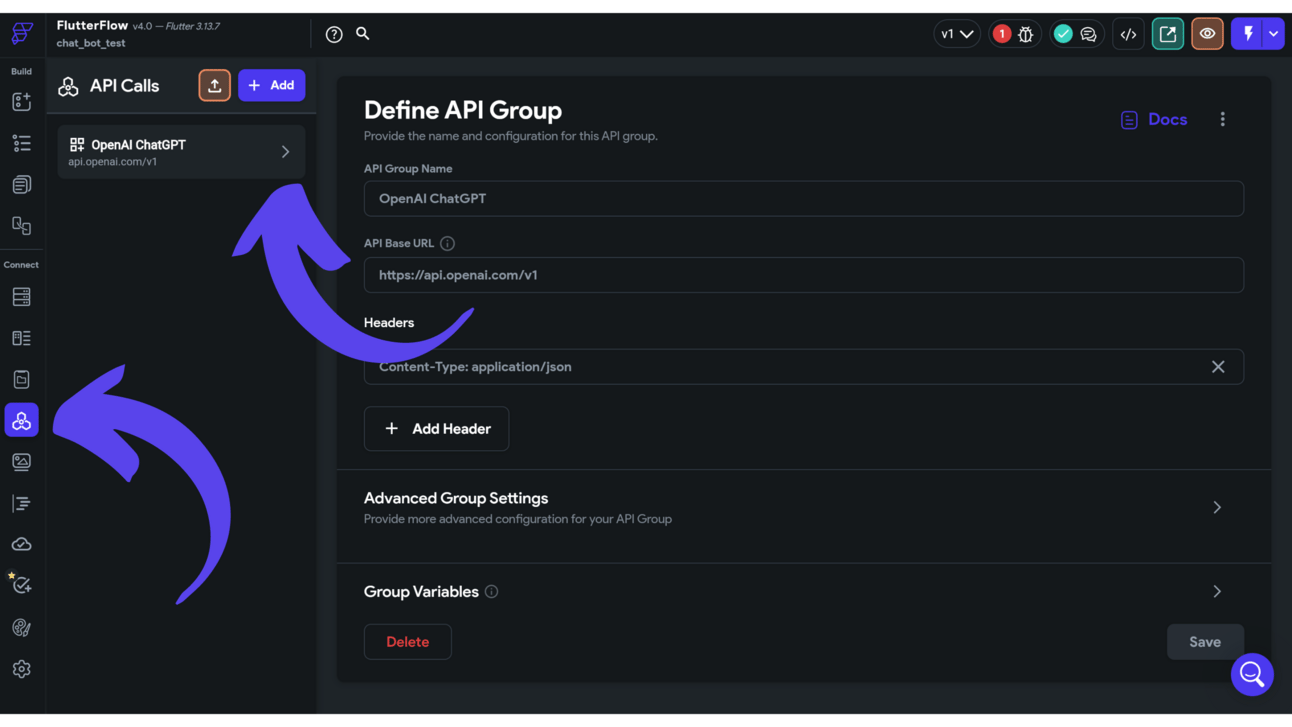
Once you click the dropdown, click on the “Send Full Prompt” section of the dropdown

A new page will appear on the right and you will notice that you need to insert an API key in this section:

Step 4
Now that we have loaded into the template and need an API key we will want to head over to Open AI (Open AI is the thing that powers ChatGPT) and click login to start the sign-up process:
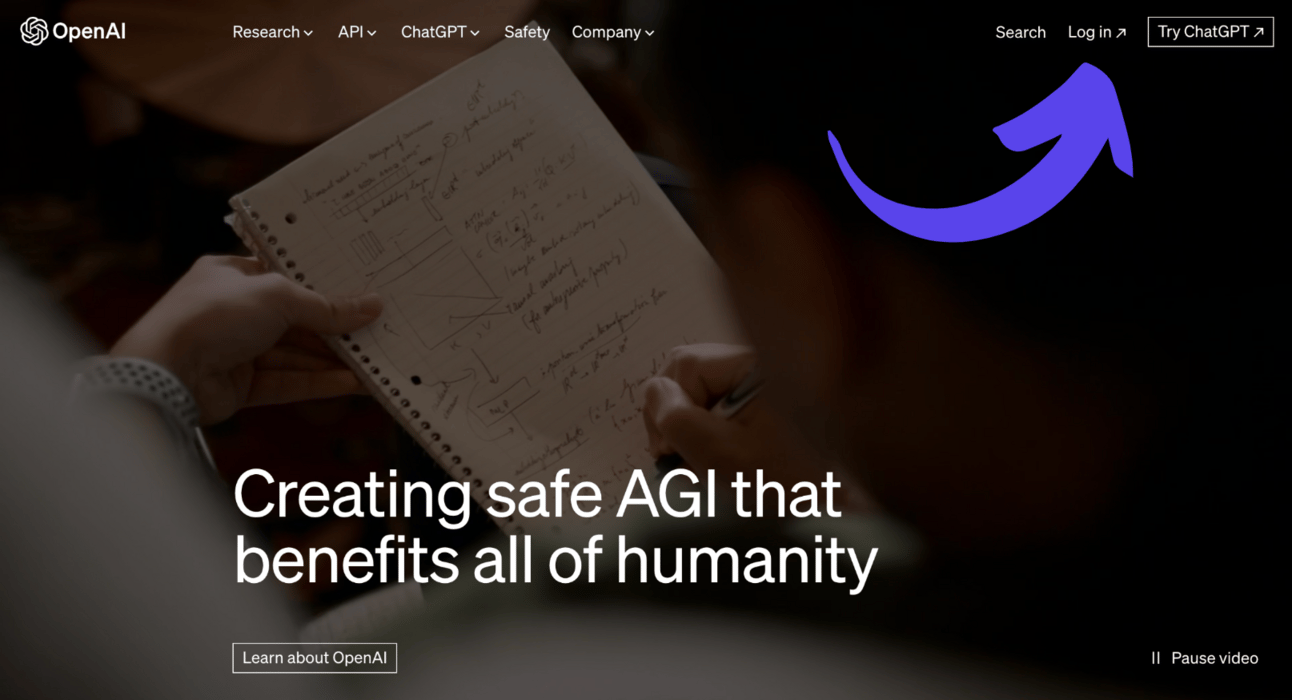
Once signed up you will be sent to a page that looks like this
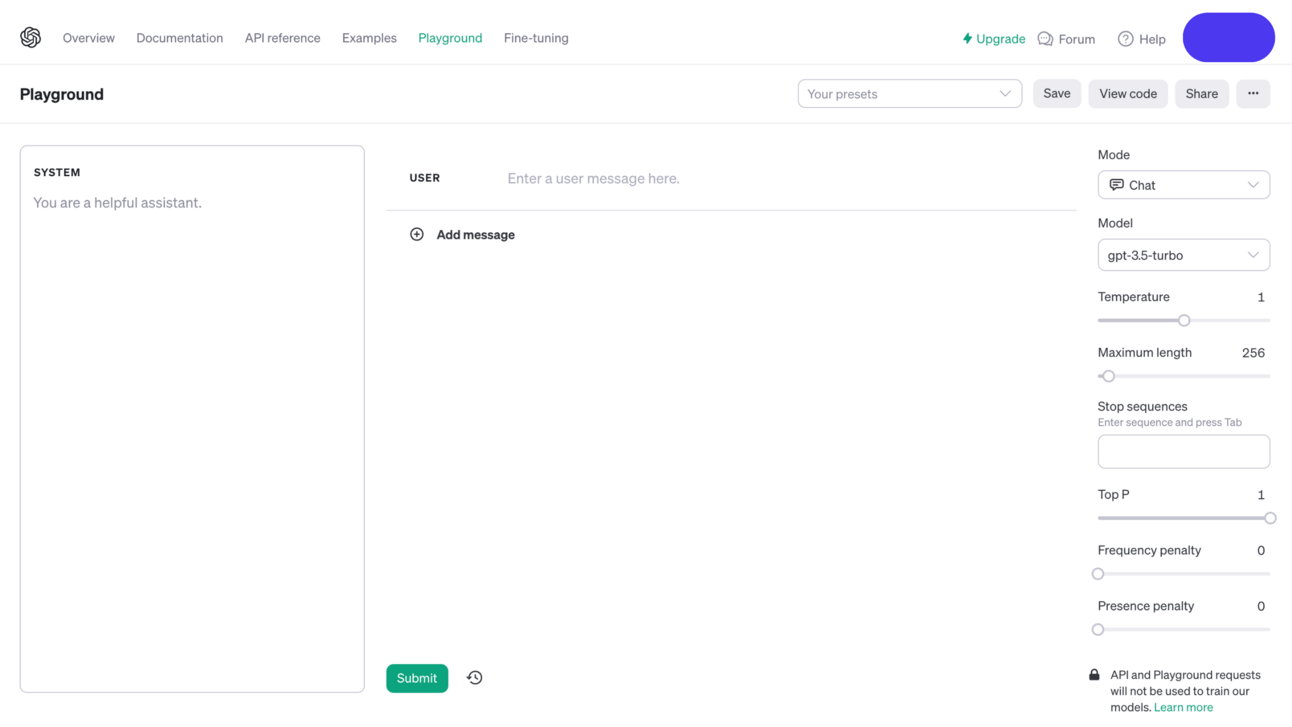
This may look confusing at first, but don’t worry, this is why I am here to guide you, and trust me this is super easy 😀
Now that you have signed up visit this link here:
This is the page where you will create your API key to get access to the ChatGPT database
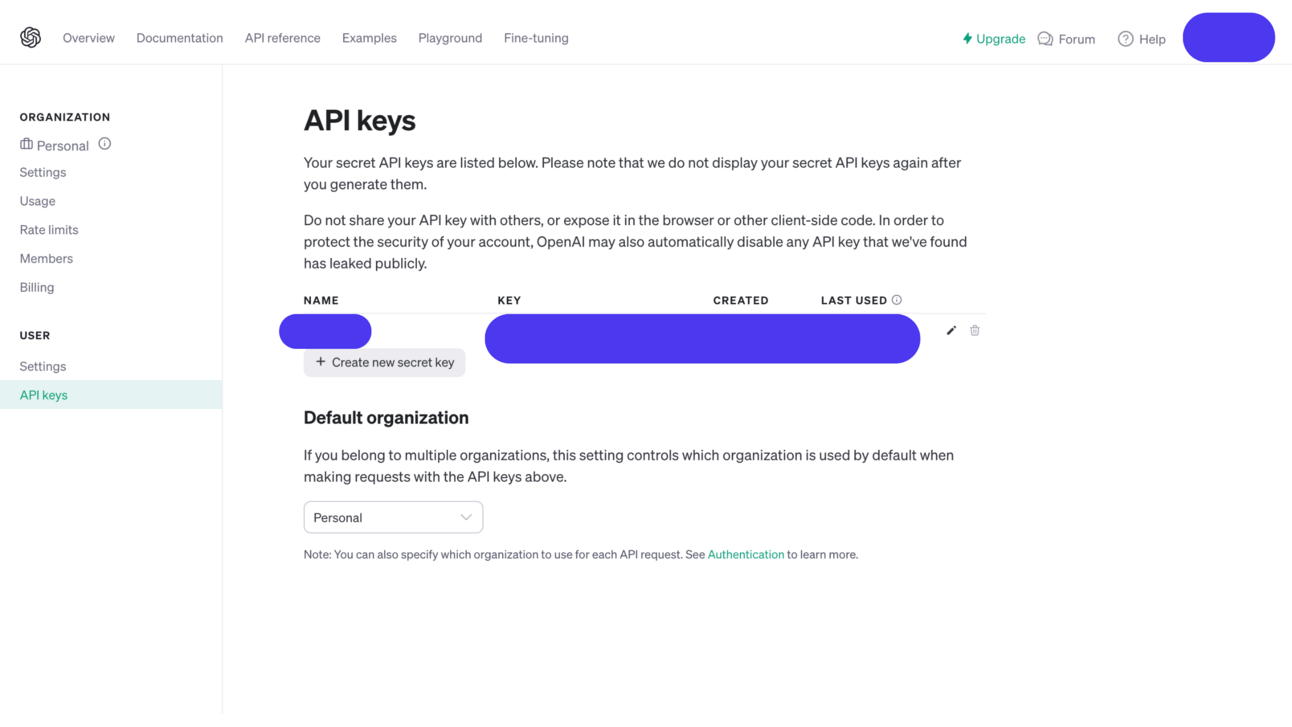
Click the “Create New Secret Key” button to generate your API key (your guy’s page will look a little different to mine if you have not already generated an API key)
Step 5
Now that we have our API key copy and paste it into the section as shown earlier in this article along with these other 2 places:
Paste your API key into this other place:
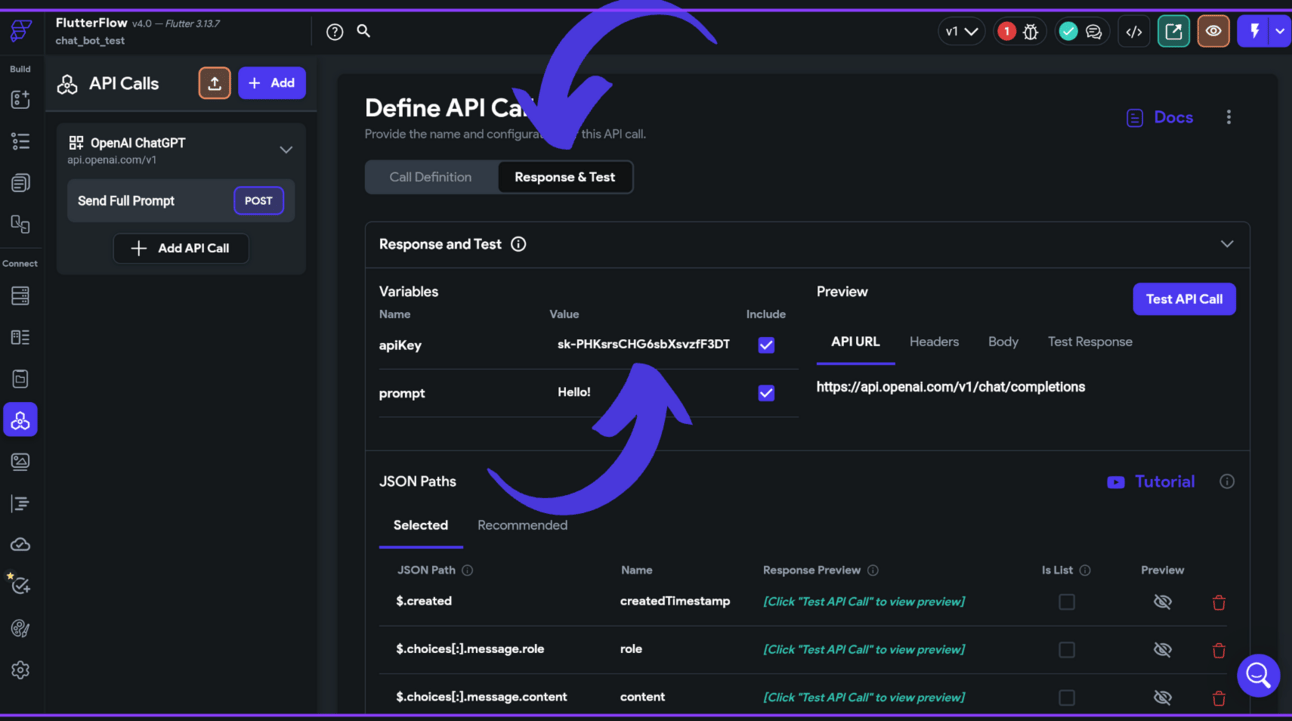
This page is on the same page as the screenshot above where you inserted your first API key, just right next to it. Where it says “apiKey” on this page delete the API key that is already in there and paste yours in (remember to save this down the bottom right of the page before leaving the page)
You will also need to paste your API key into this section (this one is a bit of a process to get to so I will show you the steps). Head back to the main editor and then click on the “send” icon next to the “type something” input box.

once clicked you will see that the sidebar to the right will change. Within that sidebar, you will want to click on the little curser button as shown by the arrows above and click on the open button in the “Actions” section.

Now that you have clicked open, this popup will appear. Within this popup, you will want to click the “Backend Call” section.

All you will need to do from here is click on the “apiKey” dropdown on the right

Then you will be able to delete the pre-built API key that is in there and paste your API key in.

Step 6
Now you will need to head back down to the “API Calls” section in the left sidebar
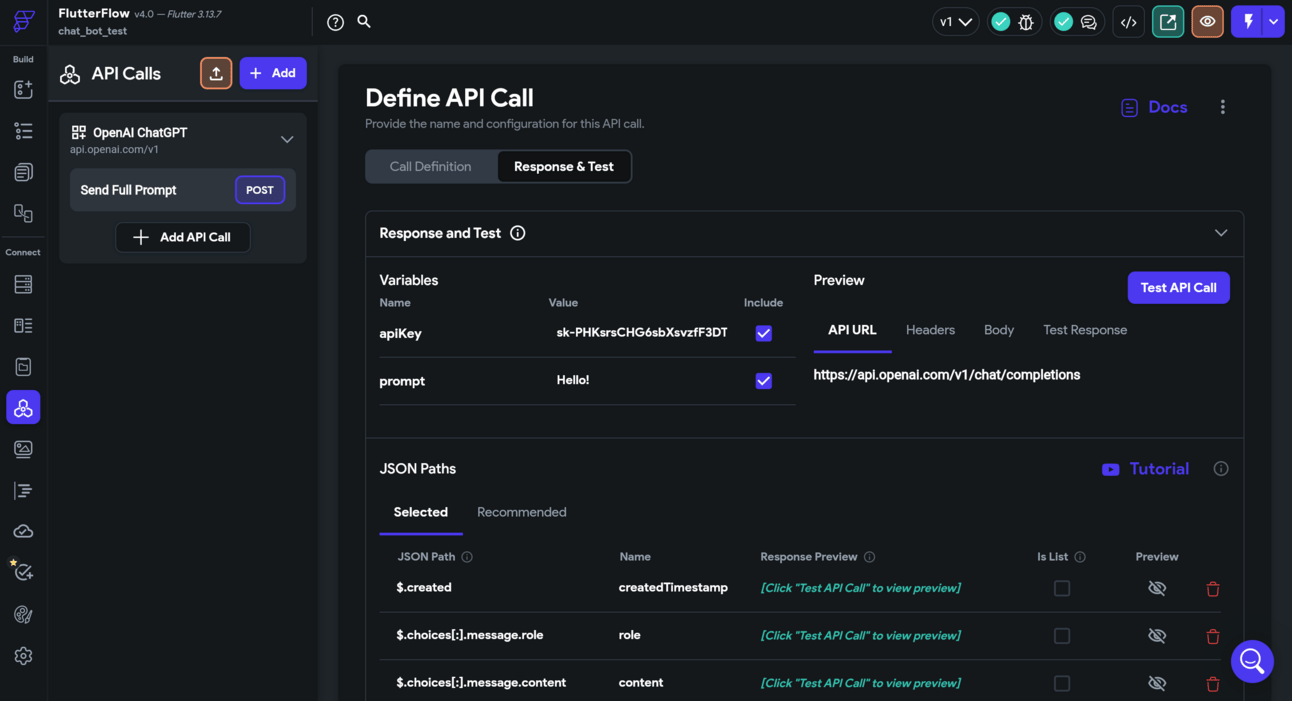
And replace the piece of text that says “Hello!” in the Response & Text section with this :
[{"role": "user", "content": "Hello!"}]
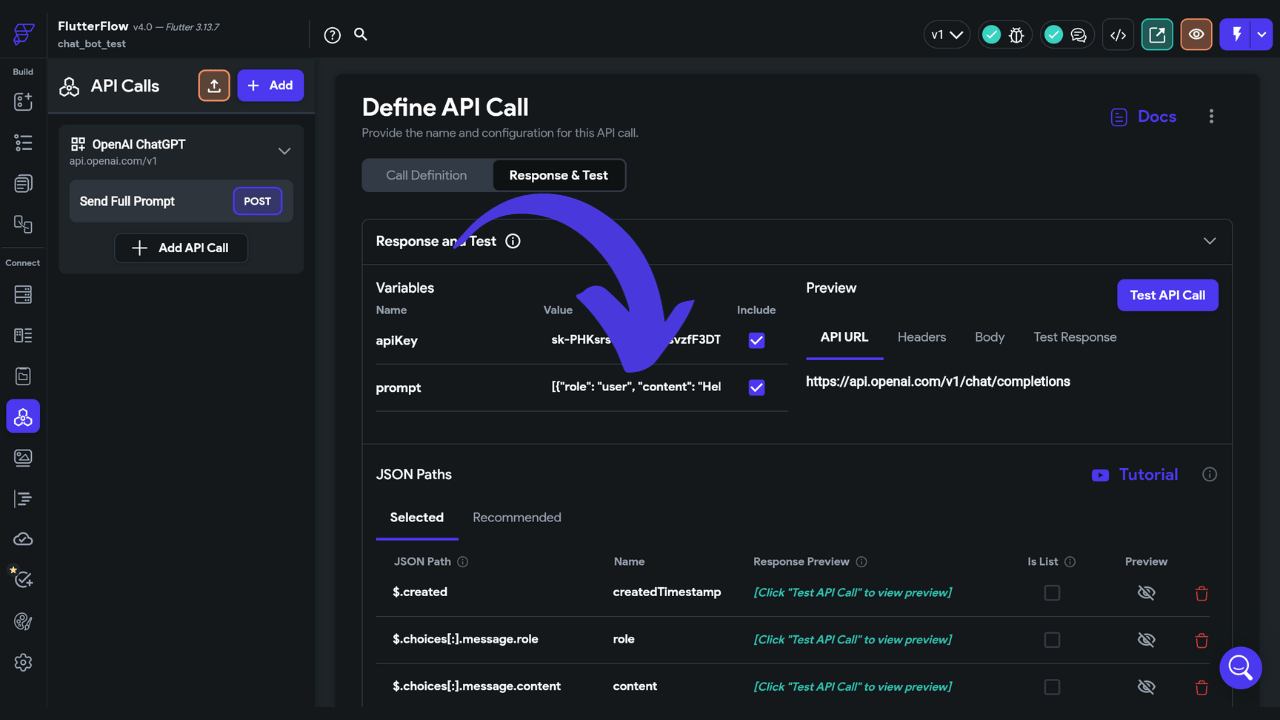
Make sure to save this down the bottom right. You might see a red 1 up on the top right corner of the editor so just click on it and wait a second or two for the app to verify your code:
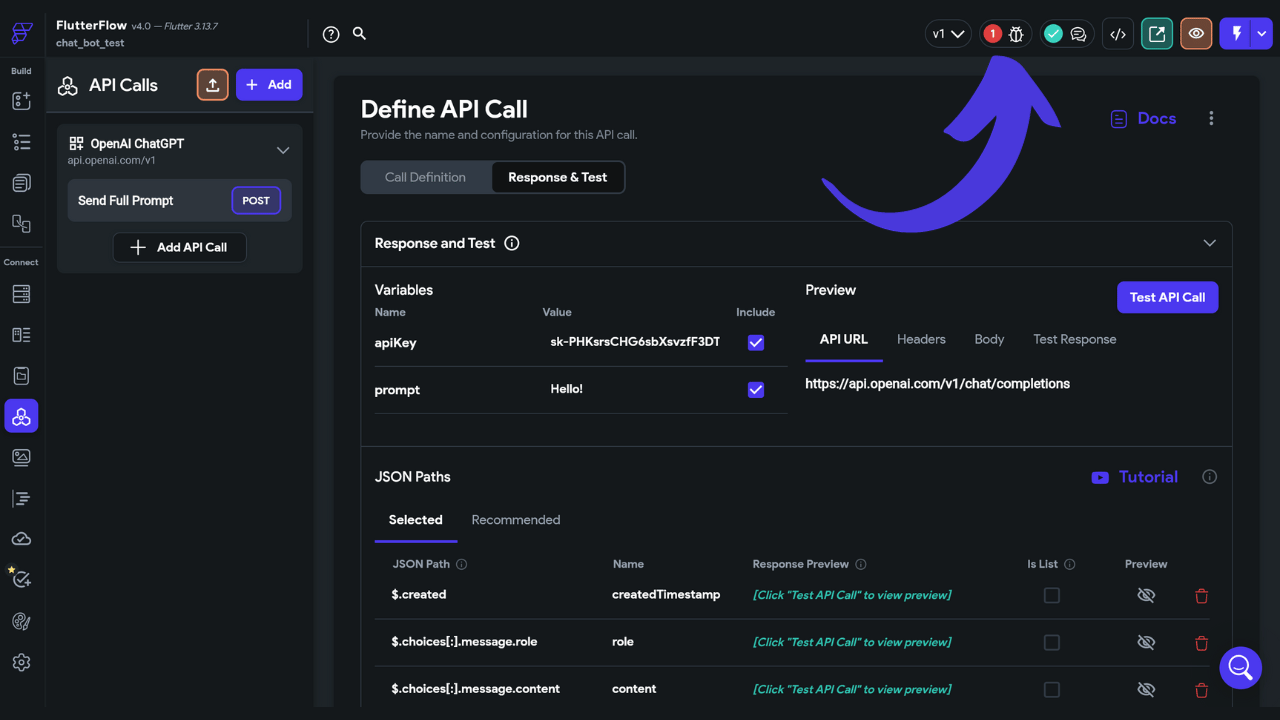
Step 7
Now we are done! that is literally it, all you have to do now is click the top right lightning bolt ⚡️ to test your app!
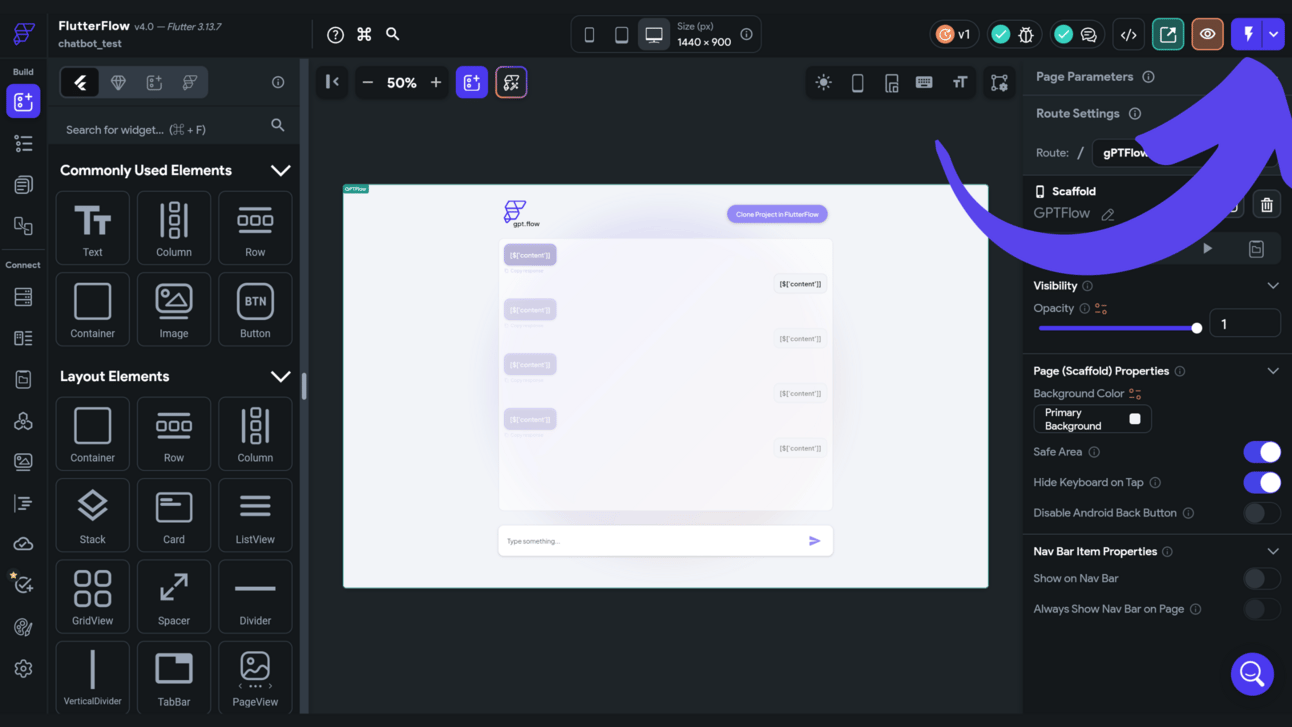
It will take 2-3 minutes to launch the test preview but once in you can start talking to your very own chatbot!
(note that you only have a limited amount of tokens you can use using this API meaning that you can only ask a limited amount of things to this chatbot before having to pay money, you will only be charged if you input your card number into the API which we did not do, so don’t worry, it will not automatically charge you 😉)
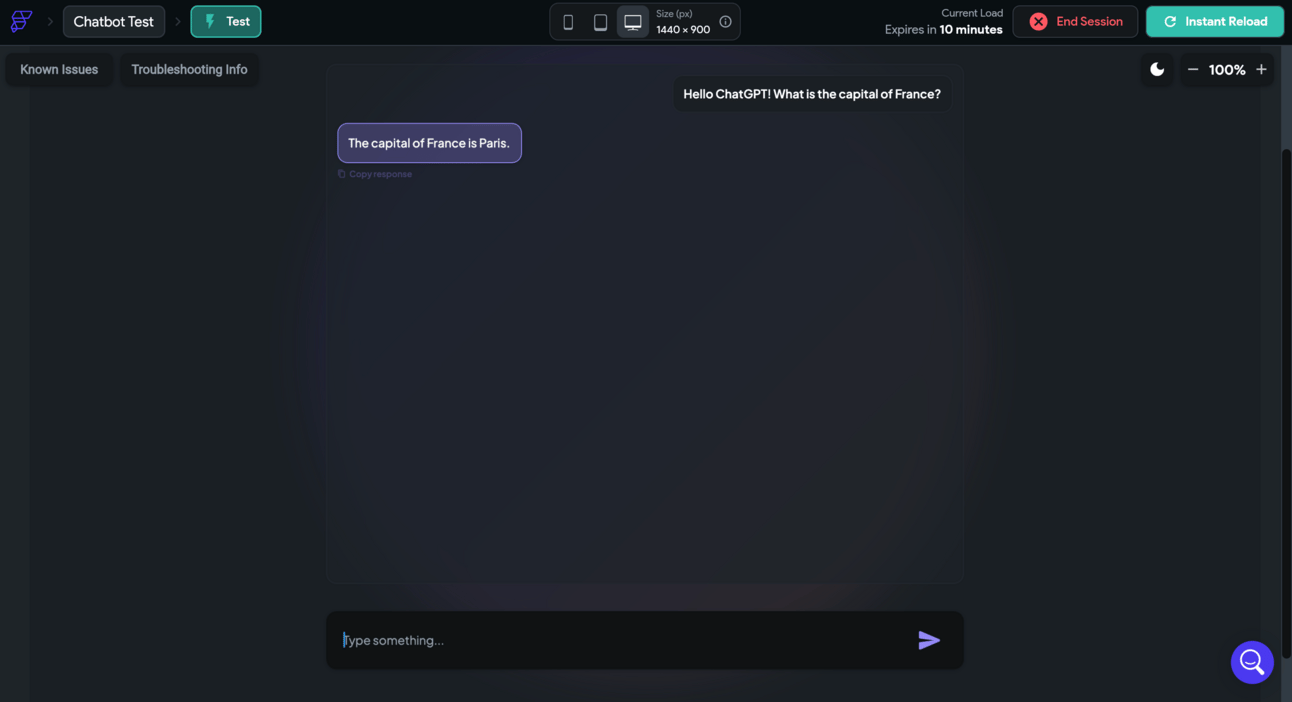
I hope you guys enjoyed this post showing you the true power of no-code. Although it is in its early stages of development no-code is growing rapidly. If you would like to learn more about the world of AI I would recommend checking out my newsletter where I share tips and tricks I have learned over the years that have to do with AI.